You’ve got your mobile app idea, you’ve decided on Apple’s iOS platform, and you’re ready to start developing your app. If you’re like most small businesses, you likely don’t have all the resources in-house to get a mobile app developed from scratch. Maybe you’ve considered engaging freelancers to help get it done, but you’re not sure exactly who you need or where to start.
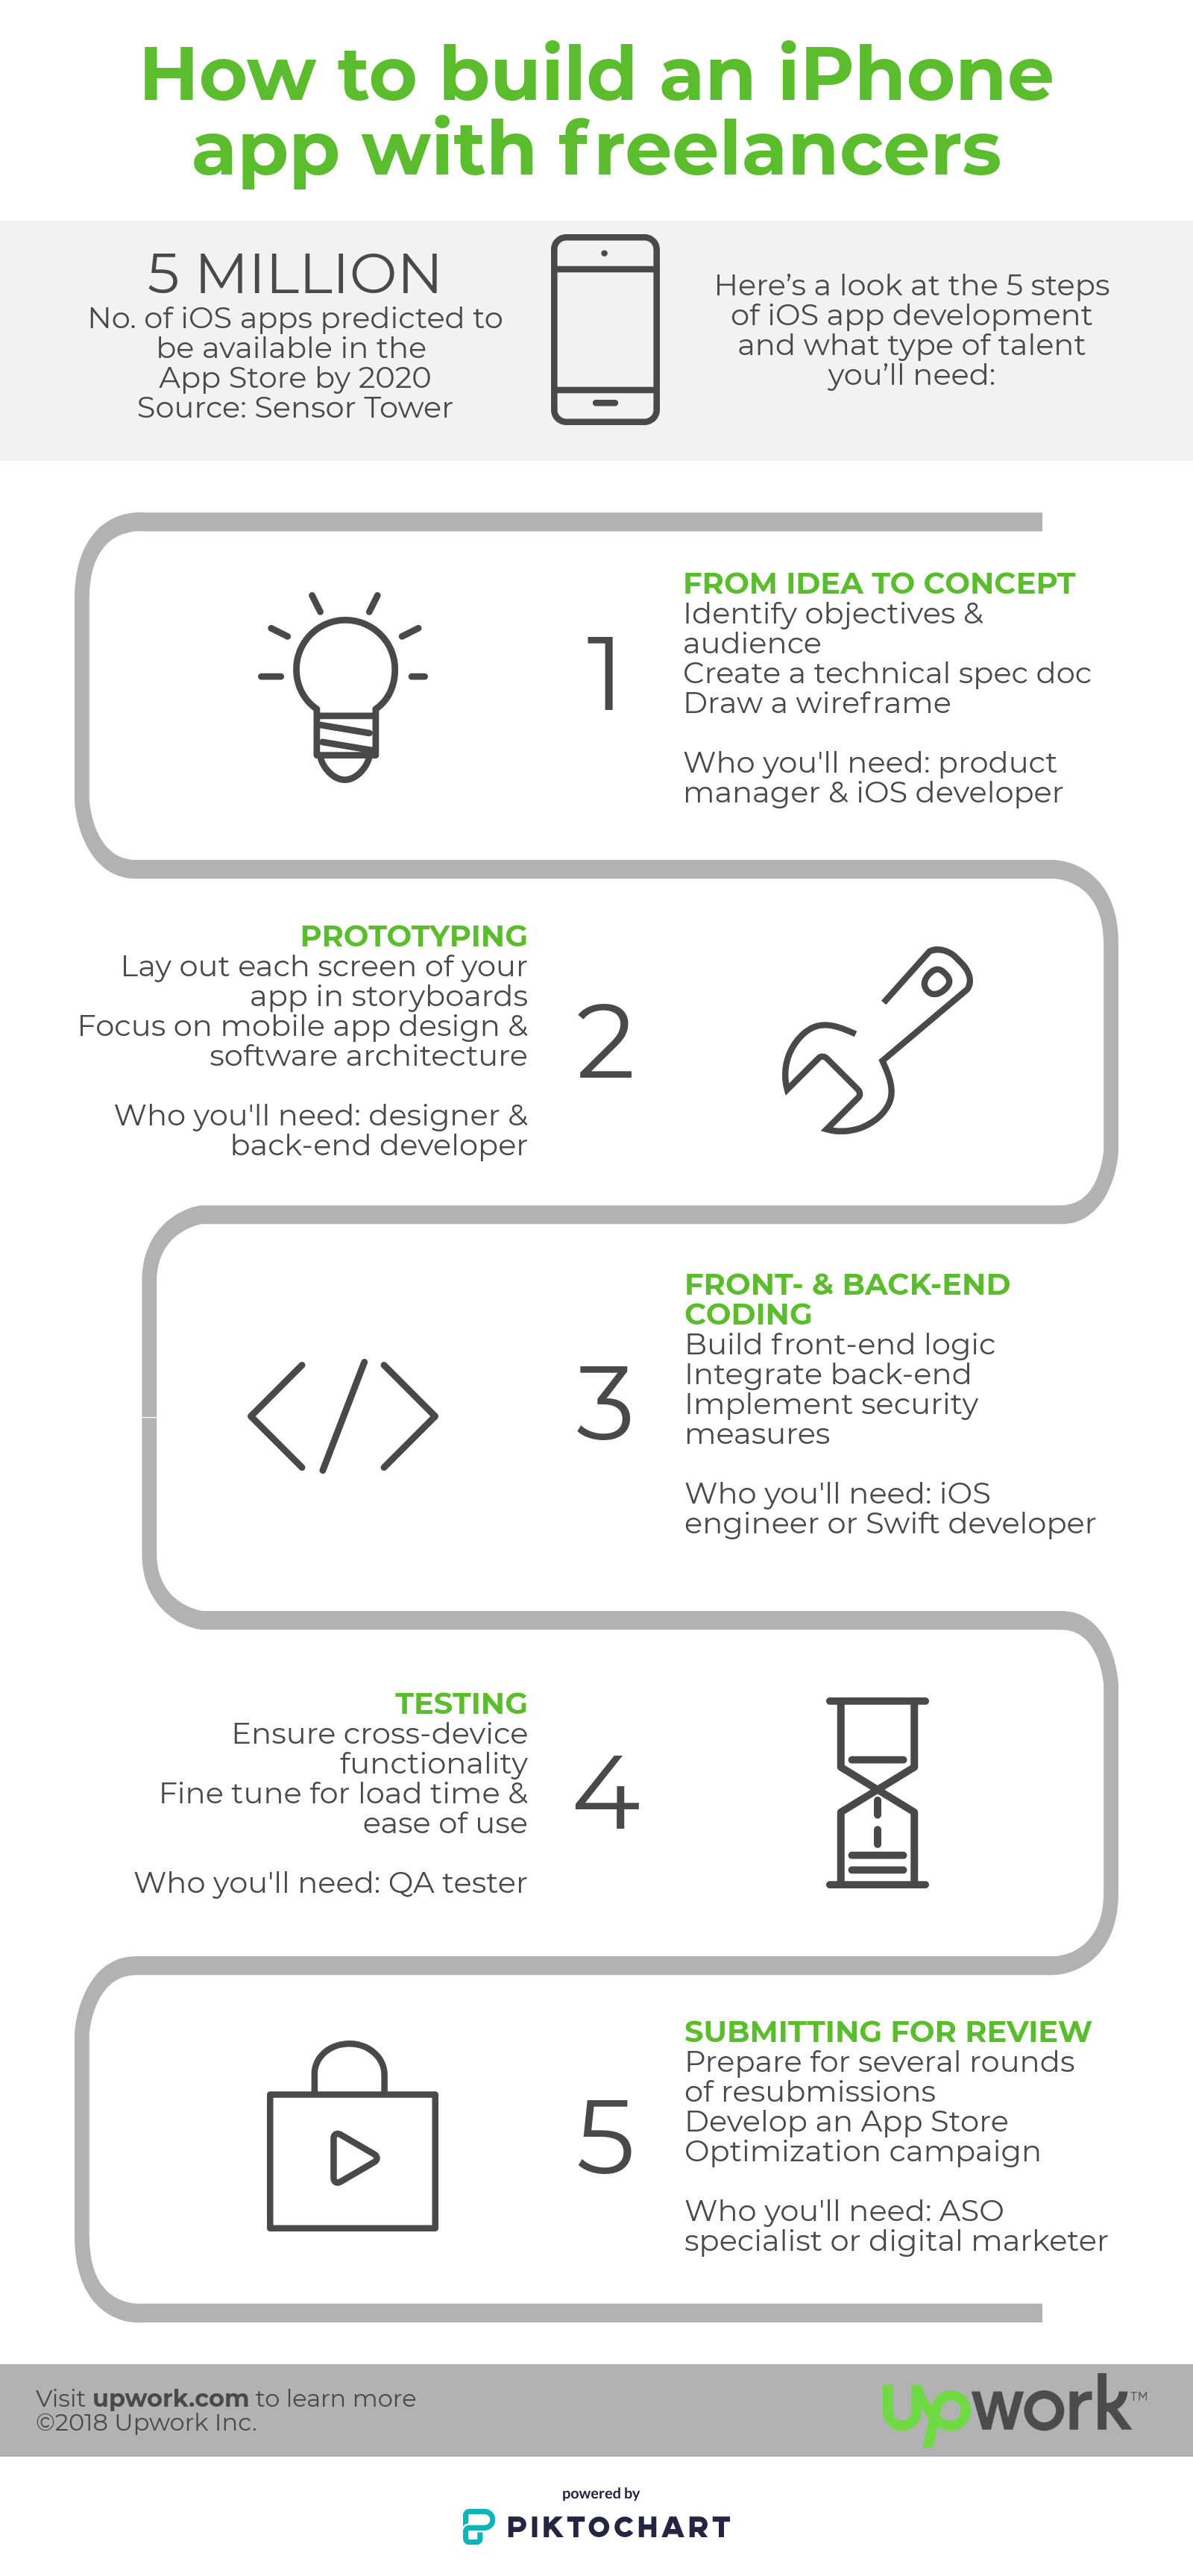
Developing an iOS app typically happens in a few phases, and depending on the app can require the expertise of a few professionals. To give you an idea of who you’ll need to get your app built, here’s a step-by-step look at developing an iOS app, with the pros you’ll need for each.
First, Find a Great iOS Developer to Help Guide The Process
You won’t need coding at every step of app development, but a developer’s knowledge and guidance can be invaluable even during non-development related steps. An iOS developer can weigh in on your concept, wireframes, storyboard, user interface, and more, acting as crucial advisors with tech-focused perspectives. Engage an iOS developer early on to weigh in from the idea phase up until the day your app gets submitted to the App Store.
Phase 1: Getting From Idea to Concept
Every app begins as an idea—but how do you know which are good ideas and which will get lost in a crowded market? This is where research and ideation can help separate the good from the great, and help you crystallize a strategy before the first wireframe is drawn.
First is the discovery phase, when you’ll pull together market research, nail down objectives, and identify your audience in a brief. This segues into the concept phase, during which you’ll translate your objectives and value propositions into a refined idea. From this, it’s helpful to draft a technical specification document, which will help you nail down requirements and guide next steps for your app (and who you’ll need for each).
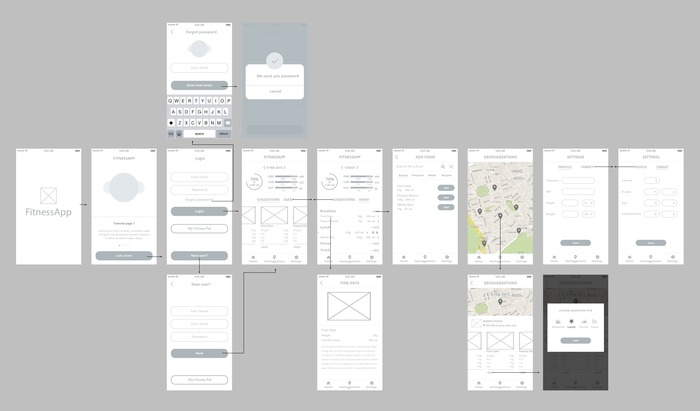
Next, draw up a great wireframe that will act as a user experience (UX) roadmap and an information architecture blueprint. A wireframe won’t include any design elements yet, but it will help to guide the eventual design of your app’s user interface (UI). Learn more about wireframing in this article.
Who you’ll need: These phases benefit from the guidance of a product manager, but it’s also helpful to have an iOS developer to weigh in on the app’s functionality early on. A developer will know what’s required from a coding standpoint to bring features to life and can help gauge the scope of the development workload.
Phase 2: Creating Prototypes with Storyboards, Design, and Software Architecture
During the next steps, it can be invaluable to create a working prototype of your app. You’ll save time and get even closer to your app as a finished product, and have a basis for your app that you can revisit as you continue to tweak your designs and test. Prototyping not only speeds up the process of testing and feedback at earlier phases, designs can be easily exported for development. Whether you choose to prototype or not, you’ll address the following steps next.
With wireframes complete, lay out each screen of your app in storyboards. (The iOS User Interface can be developed with Storyboards and the Interface Builder in Xcode.) Storyboards give your developer a basis to get started on the software plan for the front and back ends, and provide your designer with a blueprint to begin designing the UI.
Your mobile app design should tackle a few different angles: creating appealing visuals (how the app looks), an intuitive UI (how the app works), and an engaging UX (how it feels to use the app). Your designer will create the look and feel of each screen of your app, with graphics, icons, custom animations, and more.
At the same time, software architecture should come into focus. Based on the UI, your developer will ensure front-end functionality is supported, optimized for performance, and scalable. A back-end systems engineer will be critical whether you’re building your own or opting for a BaaS (Backend as a Service) software bundle.
Who you’ll need: A UI/UX designer, a back-end developer, and an iOS developer. Note: For smaller projects, one iOS developer may be able to create software architecture for an app. For larger projects, you’ll need at least one developer with experience in software architecture—and plenty of expertise with both the front end and the back end.
Phase 3: Front-end & Back-end Coding & Integration
This is the most complex phase. Expect many iterations, with a constant feedback loop between your designer and your developer before you end up with a fully functioning app. While your front-end functionality and computing logic is created, any back-end engineering (server-side components your app needs to run, like a database, APIs, middleware, etc.) are coded and integrated, linking them to the front end. The skills you’ll need during development will depend on the functionality you’re adding to your app, and its complexity.
A few technologies your mobile app developer may utilize include Xcode, Apple’s integrated development environment (IDE); Swift, Apple’s newest programming language; and frameworks like Cocoa Touch, Spritekit and Scenekit, and ARKit for augmented reality apps.
This is also a good time to address mobile security, implementing measures like mobile encryption and two-factor authentication into your app to protect your (and your users’) data.
Who you’ll need: An experienced iOS engineer or Swift developer versed in server-side scripting, database administration and integration. (It’s also good to know all the new capabilities of the latest version of iOS.)
Phase 4: Testing
Apple’s submission and approval process is notoriously difficult, so thorough quality assurance testing is crucial. In testing, your developer will go through your app screen by screen on a device or in the Simulator of Xcode to ensure it runs well on all targeted devices without crashing, slowing down, or any bugs.
Test across different devices (iPhone, iWatch, iPad, iTouch) for different aspects such as battery life, screen resolution, processors, and memory. Test for functionality (does it work well?), load time and handling (does it slow down when traffic increases?), but also run user testing to gauge how easy is it to learn and navigate. Also, review any crash reports to locate fixes.
Beyond fine-tuning your app’s functionality, user testing can also generate valuable data analytics that can be used to personalize mobile user experience. A data analyst can help your mobile developer turn that data into personalized promotions, targeted ads, product recommendations, and other useful features. Users will be drawn to the app for the utility, but it’s your ability to provide a superior mobile experience that will ultimately boost those retention rates.
Who you’ll need: A QA tester, mobile developer with up-to-date knowledge of Apple’s latest submission requirements, cross-device testing, knowledge of security and privacy measures; UX/UI designer; testing experts.
Phase 5: Submitting an App for Review
The submission process usually involves a few fixes and resubmissions if it’s not accepted the first time around, so it’s helpful to have a seasoned iOS developer who knows the ropes and what to expect. Getting your app live and in the App Store takes a few steps, including configuring the code, creating a profile, creating a listing, then submitting it through Xcode for certification.
With 2.2 million apps in the App Store, you’re going to want to stand out. Given the challenge of Apple’s rigorous submission process, the process of optimizing your app for the App Store begins before you apply. Fast load times, a slick user interface, high performance, and top notch security must be prioritized in order to pass the screening process.
To truly stand out, you’ll need a solid ASO (App Store Optimization) campaign. Just like SEO (Search Engine Optimization) for websites, you’ll want to take what you know about your target audience and incorporate keywords they’ll likely use to find your app. The icon should be well designed and resonate with your target user-base, clearly conveying the utility of your app. Visuals and graphics should look better than the competition. Once you’ve landed that coveted spot in the App Store, you can tie your ASO into your larger marketing campaign and start growing your app.
Who you’ll need: An ASO specialist, often a digital marketer, SEO consultant, or even a mobile developer with intimate knowledge of Apple’s latest submission requirements, marketing, copywriting, and a proven track record of ranking apps in Apple’s App Store.
Maintaining Your App in the Future: Updates, New Versions, and Bug Patches
Bugs and patches are inevitable — it doesn’t matter how good your developers are, the world of mobile devices is constantly evolving, and apps must constantly adapt to remain competitive. There’s a reason most successful apps update at least 1-4 times per month.
With v1.0 of your app in the App Store, what are some things to expect to include in your next release cycle? From simple tweaks in performance, to eliminating security holes, and adding new features that improve your app’s user experience, there are many things you might want to include in the next version of your app. Whatever you choose to include, be sure to avoid common app update mistakes, like piling too many features into a single update, neglecting your low bandwidth users, or forgetting to test for impact on battery life. You’ll also want to keep a close eye on App Store reviews and emails for vital user feedback that can alert you to any bugs that slipped through your testing phase.
Tip: The Apple Store review process can take anywhere from 2 to 3 weeks. While that’s fine as a quality control measure for the release of a new app, it can be discouraging to deal with backlogs when all you need is a quick fix. Enter Rollout, a completely legal tool that allows you to bypass the normal App Store review process for simple code-level changes to native iOS apps by leveraging method swizzling. Learn more about how Upwork uses Rollout to patch iOS apps on the fly.
Remember, updating your app to a new version is about more than maintenance — it’s about ensuring your app continues to evolve with the dynamic world of mobile app development. Hire an iOS developer today, so that you can secure the future of your mobile app.


